Profiles
What are profiles:
In the development of a program to eliminate the flicker between images, it is impossible to predict the type of images to be prepared for the correction to be made.
For this reason, the developer, to create the reference table to calculate the necessary modifications, as part of a picture that can represent most situations. This is a profile. As a general guideline, in some cases it might not be suitable.
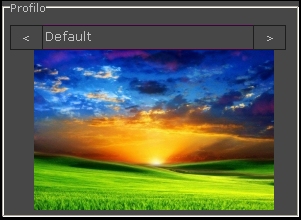
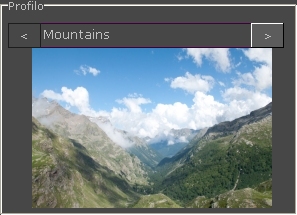
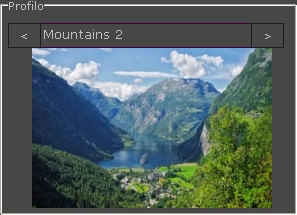
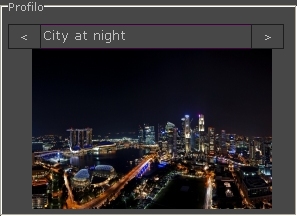
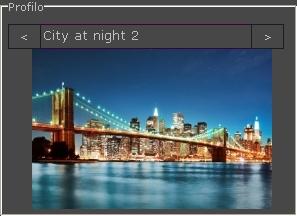
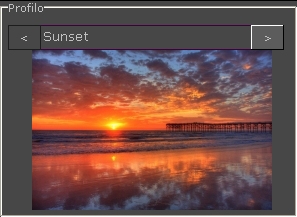
The program provides a series of profiles:
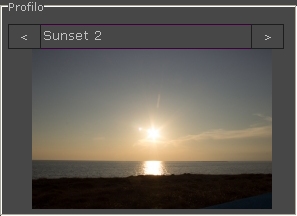
Select the profile that most closely resembles the photos you want to process, then perform the operation deflicker.
The profiles shown here are useful for all those situations where the images are to be further processed with Lightroom. The profiles are optimized for the best possible result with Lightroom.
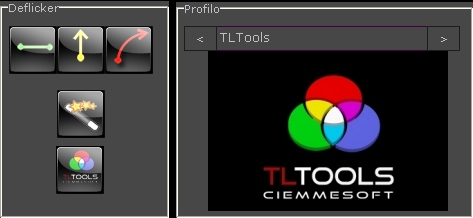
In case, however, the images are processed with the tools made available to the program and therefore there will be an additional processing with ligtroom, the program provides a particular profile:
Using this profile, will not be used no table preprocessed.
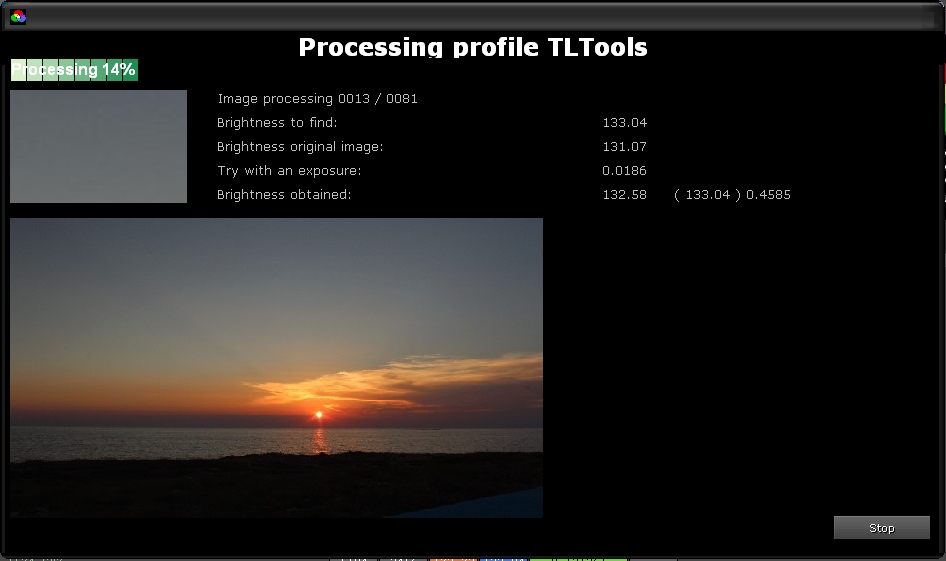
For each frame to be processed, the program will change the brightness until the value obtained corresponds with the expected value.
In this way, the result will be far superior to the results obtained with the processing using tables preprocessed generic.
Attention. The results obtained will be suitable only for future processing with the program TLTOOLS. The results obtained, may not be suitable for further processing with Lightroom.
Given the considerable number of operation performed, the operation of deflick, in this case, can ‘last a long time. And ‘advisable to delimit the area where to perform the calculation, impostanto a zone.
The use of this profile is quite simple.
When selected, after creating a zone (if applicable), simply press the additional Button 
This will open a new window
Where will show the performance of the transaction.
At the end of processing, you will see a preview of the work performed.
Another possibility offered by the program is to create your profile, for use with Lightroom.
For the creation, follow these steps:
Given the complexity of the calculations to be performed and the interaction with other programs (Lightroom), creating a new profile is cumbersome but anyone can do it.
1. Go to the module utility
2. Press “Creazione profilo per deflick”
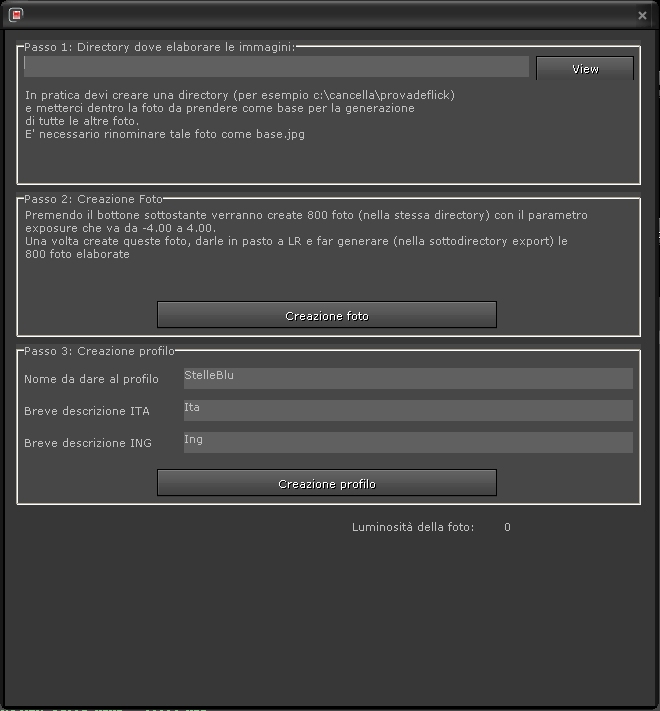
3. This will bring up the following screen:
As indicated by the program to create an empty directory with in the photo to use as a sample for creating a profile.
This photo should have the name base.jpg .
To be lighter on subsequent processing (as the result of changes in subtle ways) you should not go overboard with the size of the base photo (640×360 pixels is recommended).
4. Created this picture, press the button “Creazione foto”.
The program at this point creates in automatic mode, 800 pictures based on the picture sample, automatically altering the exposure parameter setting values ranging from -4.00 to 4.00 with 0.01 resolution.
5. Create these pictures, open Adobe Lightroom and import.
6.Export photos (LR apply the exposure shift) created by LR export subdirectory (which you will have to create or to create LR) of the directory that contains the photo base.jpg and all the other pictures created by the program.
7. Fill in the fields for the identification of the profile, where name is the name of the file to create, and description and ita ing is the description that will appear in the box profile and press the button creates profile.
8. The program will load one by one the 800 photos processed by LR, make the necessary calculations and create the profile.


